How to manage alias in Cloud Console
This article explains how to easily create Email Aliases (also known as Email Forwarders) within our Cloud Console. For security purposes, only IT Managers or authorized representatives of your subscription are permitted to set up Email Forwarders.
Mailbox Management
Create Alias
-
Open your preferred web browser and navigate to the Cloud Console URL at https://console.secureax.asia/.
-
Under Workspace, click on Aliases:

-
Click on the domain name you wish to manage to proceed.

-
Click on
New Aliason the upper right hand corner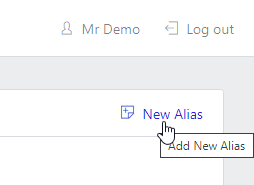
-
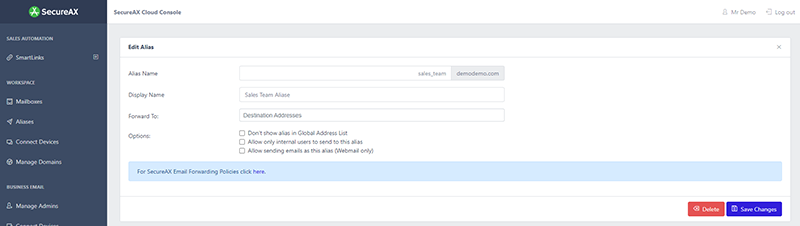
You may now configure the Email Forwarder settings
Warning
Please be aware that if you want to create an alias email, the associated mailbox must not be configured as a standard email account. If it is, the system will prevent the creation of the alias. You must delete the standard mailbox before setting up the alias.
Tip
Alias Name: [This is where the forwarder email will be sent from]
Display Name: [You can give this alias a name, it will not affect its functionality]
Forward To: [This is where the forwarder email will be sent to. If you need to send to more than 1 mailbox, simply separate with comma (,)]
Options: These are the additional configurations you can determine for this particular Email Alias
-
Click
Save Changesonce you are ready
Modify & Delete Alias
-
Open your preferred web browser and navigate to the Cloud Console URL at https://console.secureax.asia/.
-
Under Workspace, click on Aliases:
-
Click on the domain name you wish to manage to proceed.
-
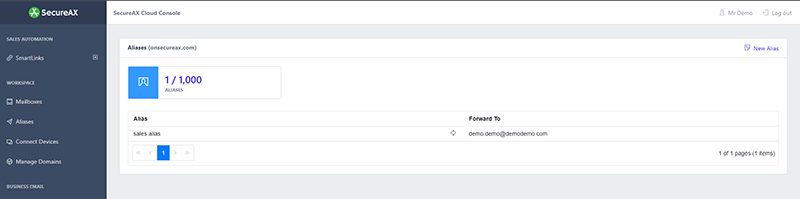
You can now see all of the existing Email Aliases.
-
Click on the Email Aliases you wish to Edit
-
You can now update the Email Aliases list (add new recipients or delete existing ones) and click Save Changes.
-
To delete the Email Alias, simply click on Delete and Confirm Delete.