How to manage mailbox in Cloud Console
This article demonstrates how IT administrators can easily create, edit, and delete users, as well as perform basic mailbox management tasks under our Cloud Console.
Mailbox Management
Create Mailbox
-
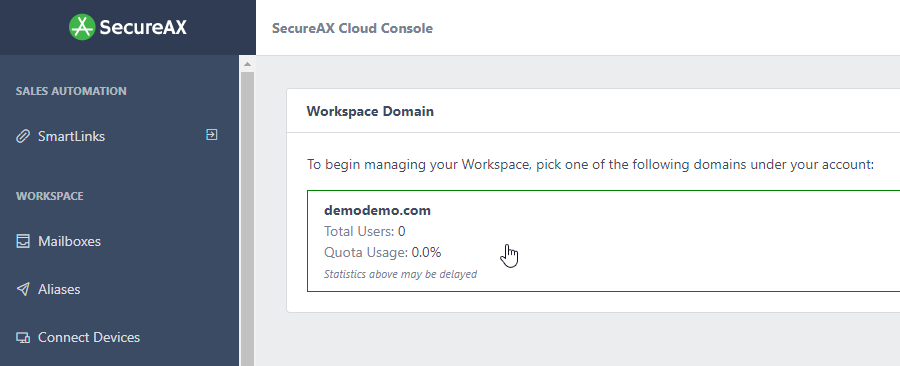
Open your preferred web browser and navigate to the Cloud Console URL at https://console.secureax.asia/.
-
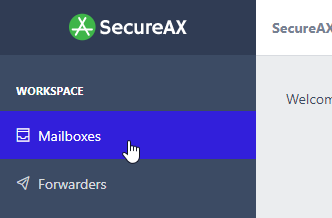
Under Email, click on Business Email Hosting, click on Manage Email:
-
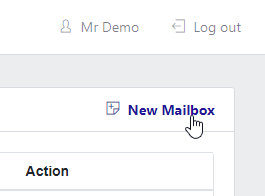
Click on Add mailbox
-
Fill up the details for the new user:
Tip
First Name/Last Name: This will be shown in the email display name
Username: [If you wish to create a new user with the mailbox user@yourdomain.com, you will fill up "user" here]
Password: [To prevent weak passwords during mailbox creation, our system will check against the password policy if you choose to create your own password. Alternatively, you can use the 'Generate secure password' button to help create a secure password.]
Quota: [By default, 5 Gigabytes is set. You can increase or decrease the amount of storage space this user gets]
-
Click
Add Mailboxonce you are ready -
Your new user account has now been created. You may send the login Username & Password to this user to begin using Email services.
Tip
If this is your first time creating a mailbox, you will need to obtain the email server settings. You can find this information by navigating to the Connect Devices section in the Cloud Console. This section provides the necessary details for configuring your mailbox, ensuring that you have the correct settings to establish a connection with the email server.
Modify & Delete Mailbox
-
Open your preferred web browser and navigate to the Cloud Console URL at https://console.secureax.asia/.
-
Under Email, click on Business Email Hosting, click on Manage Email:
-
Click on any users you wish to make changes
To change a new password, click on
Password iconthenSave Changes.
To delete an account, click on
Trash iconthen follow the instructions prompted.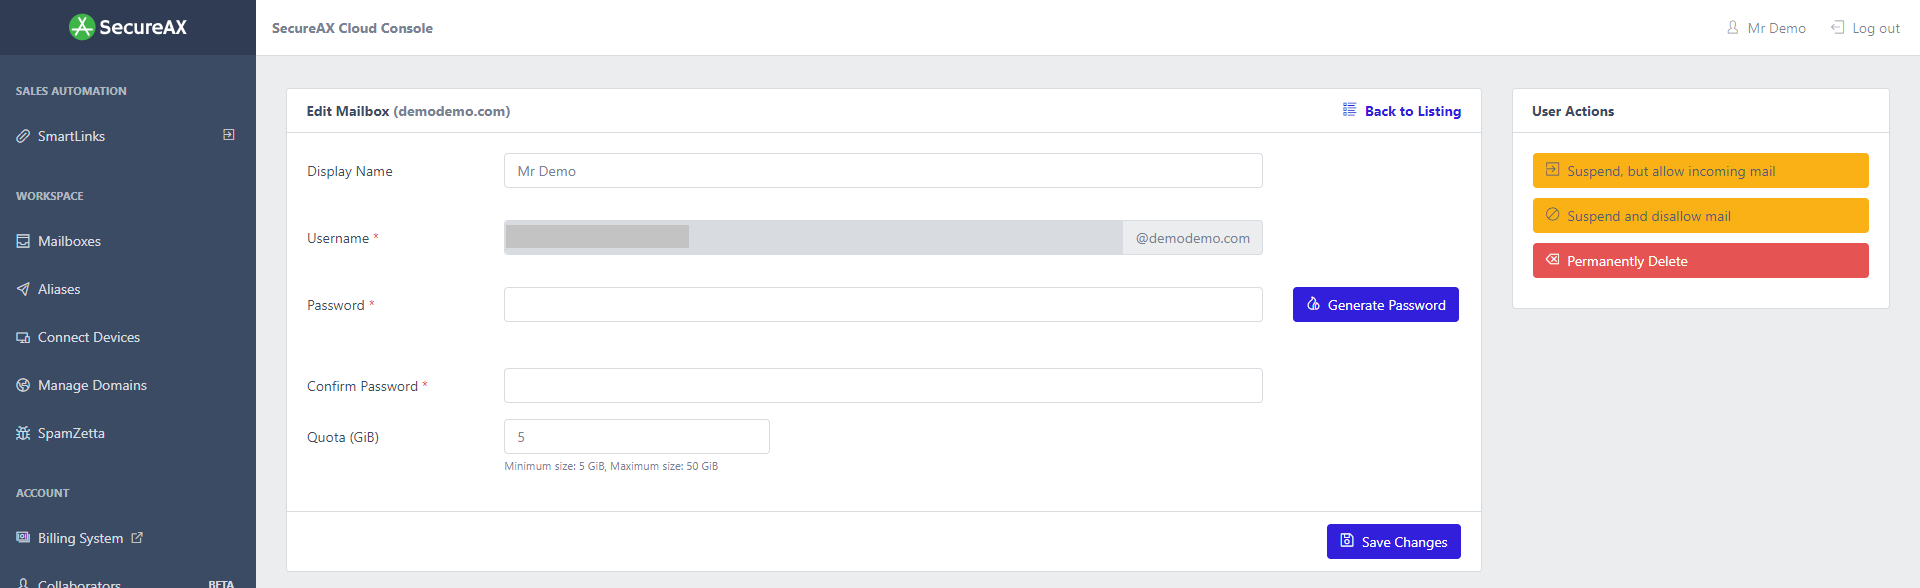
To suspend an account, click on
block icon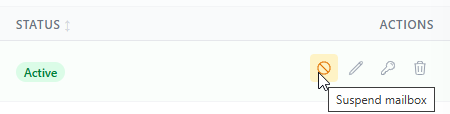
Tip
-
To temporarily disable this user account (if an employee has left the company), you need to suspend the user so that user will not be able to login to his mailbox. All email senders will receive bounced back email. No emails will be stored in his Inbox.
-
To delete this user account, click Delete button. Note that once you click Delete, all data within this user account will be permanently destroyed.
-